Taking screenshots on an iPhone is something we all do—whether it’s saving a chat, capturing a payment screen, or sharing something interesting. But did you know there are multiple ways to take a screenshot, not just the usual button method?
In this guide, we’ll start with the smartest method first, then move to the common ones.
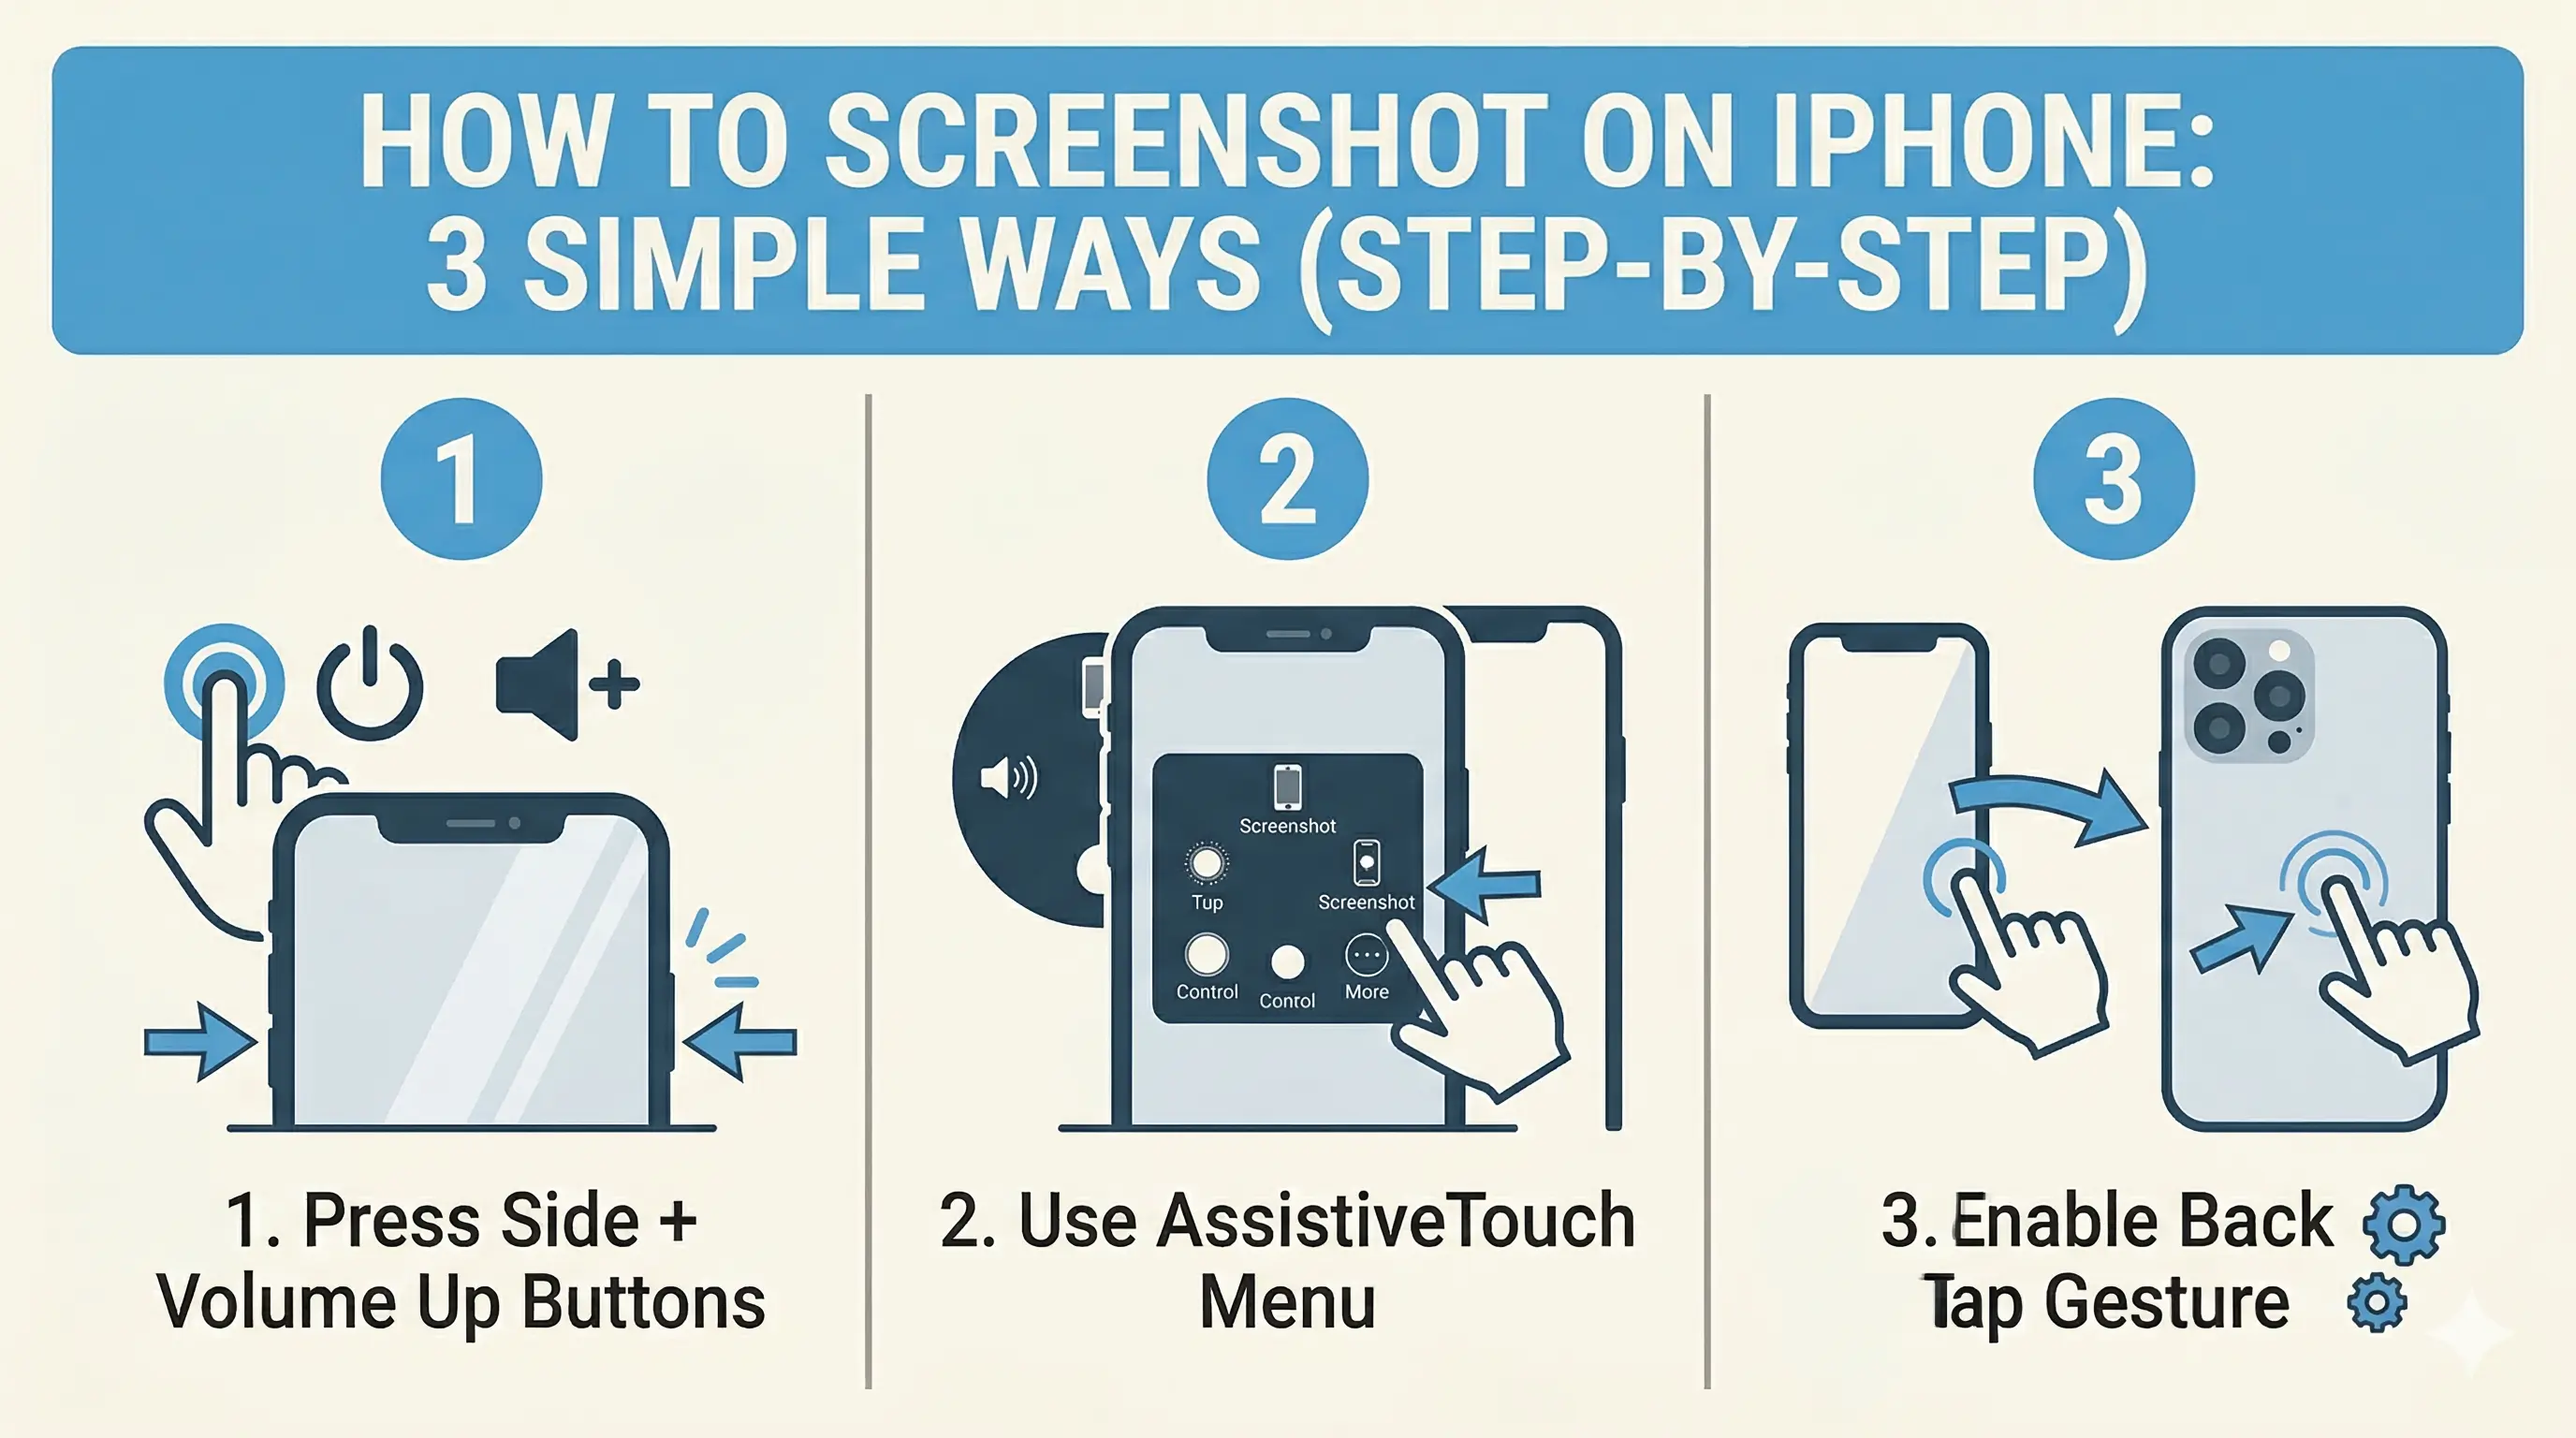
1. Use Back Tap (Hidden & Smart Feature)
This is one of the most useful and underrated features on iPhone. You can take a screenshot just by tapping the back of your phone.
How to set it up:
- Go to Settings
- Tap Accessibility
- Select Touch
- Scroll down and tap Back Tap
- Choose Double Tap or Triple Tap
- Select Screenshot
How to use:
Tap the back of your iPhone twice (or three times) depending on your choice. The screenshot will be captured instantly!
2. Use AssistiveTouch (No Buttons Needed)
If your buttons are not working or you want an easier option, this method is perfect. It adds a floating menu to your screen.
Steps to enable:
- Go to Settings
- Tap Accessibility
- Select Touch
- Tap AssistiveTouch
- Turn it ON
Tip:
3. Use Power + Volume Button (Classic Method)
This is the traditional and fastest method for most users.
Steps:
- Press Power button + Volume Up button together
- Release them quickly
Tip:
Which Method Should You Use?
- Want something cool and modern? → Back Tap is your best bet.
- Buttons not working? → AssistiveTouch is the perfect backup.
- Need quick capture? → The Power + Volume buttons remain the fastest.
Final Thoughts
Now you have 3 different ways to take screenshots on your iPhone. Try them all and choose what works best for your workflow.
Tip:Pro Tip
Spread the Knowledge
If you found this guide helpful, share it with your network!
You Might Also Like
Handpicked guides and fixes related to what you just read.

No Wi-Fi? How to Use Your iPhone as a High-Speed Hotspot
Learn how to turn your iPhone into a powerful Wi-Fi router. Share your mobile data with laptops, tablets, and other devices in just a few simple steps.
Read more
15+ Hidden iPhone Settings You Should Turn On Right Now (2026 Guide)
Unlock the full potential of your iPhone 17 or older with these 15+ hidden settings. Improve security, extend battery life, and boost your productivity with secret iOS features you probably didn't know existed.
Read more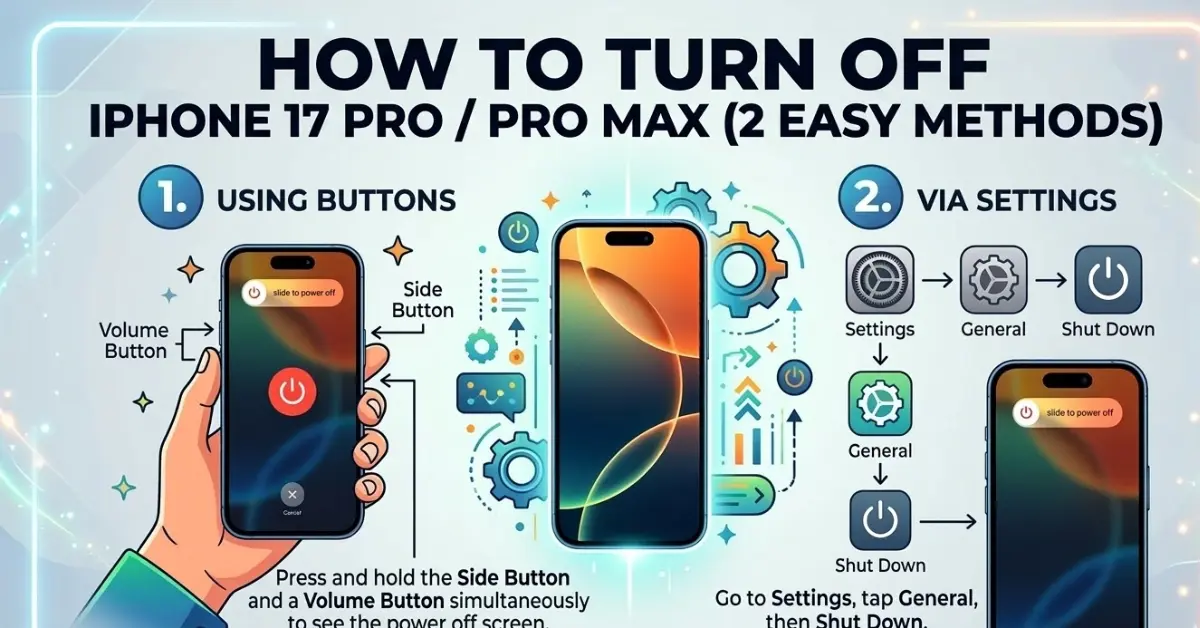
How to Turn Off iPhone 17 Pro / iPhone 17 Pro Max (2 Easy Methods)
Learn the two easiest ways to power off your iPhone 17 Pro or iPhone 17 Pro Max using hardware buttons or the on-screen Control Center.
Read more
How to Lock WhatsApp Chat in iPhone (Easy Guide)
Learn how to easily lock your WhatsApp chats on your iPhone using Face ID, Touch ID, or a secret code for extra privacy and security.
Read more