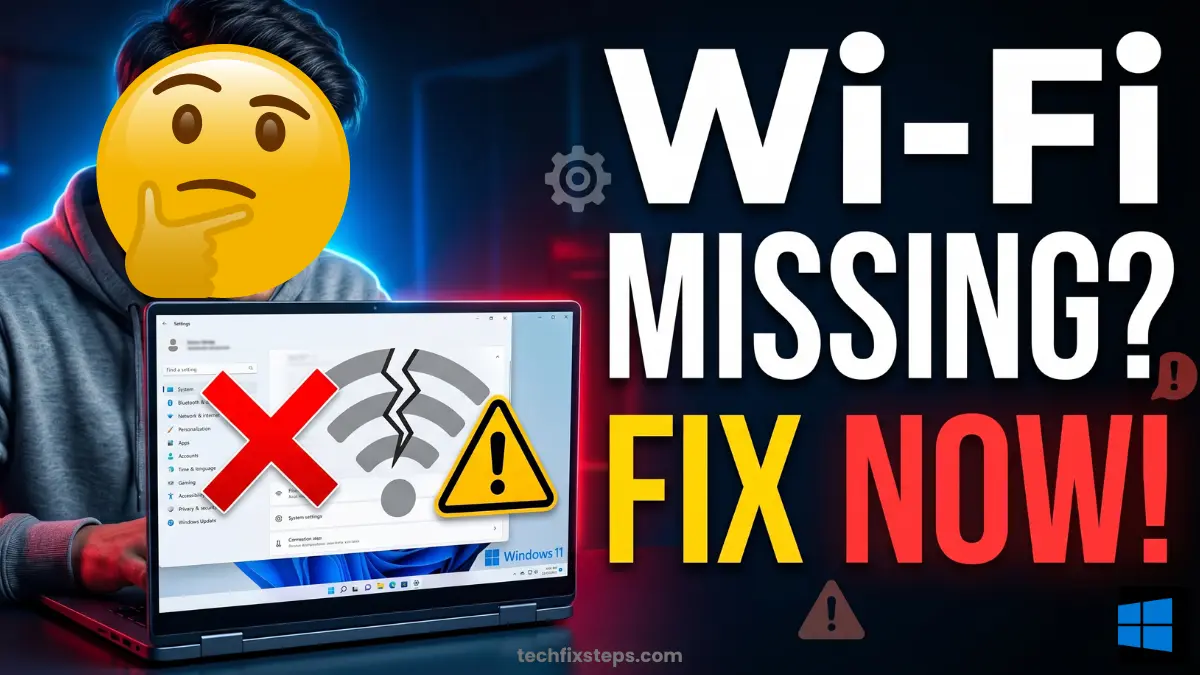
Wi-Fi problems on Windows 10 and Windows 11 can be very frustrating. Many users face issues like:
- Wi-Fi option not showing in the taskbar
- Wi-Fi missing in Settings
- Wi-Fi not visible in Device Manager
- Wi-Fi keeps disconnecting
If you are facing any of these problems, don’t worry. This guide will help you fix all types of Wi-Fi issues step by step.
First: Check If It’s a Hardware Problem
Before trying any fix, make sure your Wi-Fi hardware is working properly.
How to check:
- Click on Windows Search
- Type cmd
- Right-click Command Prompt → Select Run as administrator
- Click Yes
- Type the following command:
ping 127.1.1.1- Press Enter
What it means:
- If you see Reply → Your hardware is working fine ðŸ‘
- If you see Request Timed Out → It may be a hardware issue âš ï¸
Note:
Warning:Physical Switches
Update Windows and Wi-Fi Drivers
Outdated drivers can cause Wi-Fi problems.
Steps:
- Open Settings
- Go to Windows Update
- Click Check for updates
- Go to Advanced options → Optional updates
- Install all available driver updates
Note:
Enable WLAN AutoConfig Service
Wi-Fi will not work if this service is disabled.
Steps:
- Search Services and open it
- Find WLAN AutoConfig
- Double-click it
Make sure:
- Startup type = Automatic
- Service status = Running
If not: Click Start, then Apply → OK.
Reset Network Using Command Prompt
This step fixes many hidden network issues by resetting the TCP/IP stack and clearing DNS cache.
Steps:
- Open Command Prompt as Administrator
- Run these commands:
netsh winsock reset
netsh int ip reset log.txt
ipconfig /flushdns- Restart your computer
Fix Wi-Fi Disconnecting (Clean Boot)
Sometimes third-party apps cause Wi-Fi problems. A clean boot helps identify if a background service is the culprit.
Steps:
- Press Windows + R
- Type:
msconfig- Go to Services tab
- Check Hide all Microsoft services
- Click Disable all
- Click Apply → OK
- Restart your PC
Tip:
Fix Missing Wi-Fi Adapter in Device Manager
Steps:
- Right-click Start Menu and open Device Manager
- Expand Network adapters
If Wi-Fi is missing:
- Click View → Show hidden devices
- Click Action → Scan for hardware changes
Still missing?
- Click Action → Add legacy hardware
- Select Network adapters
- Choose your Wi-Fi manufacturer (Intel, Realtek, etc.)
- Install the adapter
If you see a yellow warning: Right-click → Update driver or uninstall and scan again.
Use System Restore
If Wi-Fi stopped working recently, restore your system to a previous state.
Steps:
- Search Create a restore point
- Click System Restore
- Choose a date when Wi-Fi was working
- Follow the on-screen steps
Try Power Flush (Last Solution)
Static electricity can sometimes cause hardware glitches.
For PC: Shut down, unplug all cables, hold power button for 20–25 seconds, then reconnect and start.
For Laptop: Shut down, remove charger and devices, hold power button for 20–25 seconds, then restart.
Conclusion
Wi-Fi issues in Windows can happen for many reasons, but the good news is — they are usually easy to fix.
Follow these steps one by one, and most likely your problem will be solved. Start with simple checks, then move to advanced fixes. If nothing works, your Wi-Fi adapter might need repair or replacement.
Spread the Knowledge
If you found this guide helpful, share it with your network!
You Might Also Like
Handpicked guides and fixes related to what you just read.
How to Fix Windows 11 Bluetooth in 5 Minutes (Step-by-Step Guide)
Stop struggling with Bluetooth connectivity issues on Windows 11. Learn how to fix missing icons, pairing failures, and service bugs in just 5 minutes.
Read more
Why Laptop Temperature Increases When Charging and How to Fix It
Understand why your laptop heats up when plugged in, what temperatures are normal, and how to effectively reduce overheating issues.
Read moreiPad Stuck on Apple Logo? Here is How to Fix it Instantly in 2026
Is your iPad frozen on the Apple logo or not responding? Follow our comprehensive guide to troubleshooting common iPad issues, performing a hard reset, and getting your device back to normal without losing data.
Read more
How to Replace Windows with Linux (Ubuntu) Permanently: A Complete Step-by-Step Guide
A complete, beginner-friendly guide to replacing Windows with Ubuntu Linux permanently. Learn how to back up your files, extract your Windows key, disable BitLocker, configure BIOS settings, and run a clean installation.
Read more